
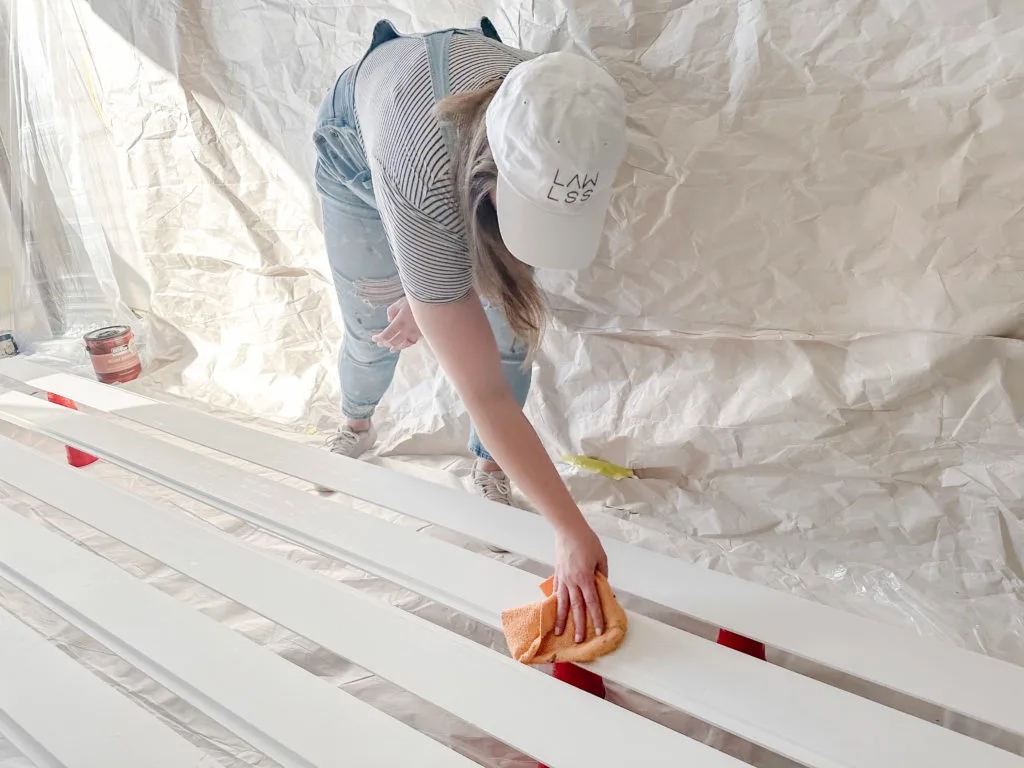
When it comes to refreshing your home’s interior, painting shiplap can transform your space while preserving its rustic charm. According to Bay-Valley Painting, proper technique and preparation are crucial for achieving a professional finish. Here’s your comprehensive guide to painting shiplap successfully.
Essential Preparation Steps
Before you begin painting shiplap, proper preparation will ensure the best results. Start by thoroughly cleaning the shiplap to remove dust, dirt, and any debris that may have accumulated in the grooves. Use a vacuum with a brush attachment, followed by a tack cloth to catch any remaining particles.
Next, inspect the surface for any damage, loose boards, or protruding nails. Make necessary repairs and ensure all nails are properly countersunk. Fill any holes or gaps with wood filler and sand smooth once dry.
Choosing the Right Paint and Tools
Selecting the appropriate paint type is crucial for shiplap. Semi-gloss or satin finishes work best as they:
- Provide adequate durability for regular cleaning
- Highlight the distinctive shiplap texture
- Offer better moisture resistance than flat finishes
- Create subtle light reflection that enhances depth
Application Methods: Roller vs. Brush
The age-old question of whether to use a roller or brush for shiplap has a nuanced answer. Most professional painters agree that a combination of both tools yields the best results.
For primary coverage, use a small foam roller (4-6 inch) with a 1/4-inch nap. This size allows you to:
- Cover larger areas efficiently
- Maintain control while working
- Achieve even coverage without excess paint buildup
- Reach into the grooves effectively
However, you’ll also need a high-quality angled brush for:
- Cutting in around edges and corners
- Detailed work in the grooves
- Touching up missed spots
- Ensuring complete coverage in tight spaces
Step-by-Step Painting Process
- Prime if necessary, especially on bare or previously stained wood
- Start at the top of the wall and work your way down
- Paint one board at a time, maintaining a wet edge
- Use the roller for the flat surfaces
- Follow immediately with brush work in the grooves
- Apply thin, even coats to prevent drips
- Allow proper drying time between coats
Pro Tips for Perfect Results
Experience has shown that certain techniques can significantly improve your results:
- Paint in good lighting to ensure complete coverage
- Keep a wet edge to avoid lap marks
- Work in manageable sections
- Back-roll after initial application to ensure even coverage
- Consider using an extender in your paint to increase working time
- Clean tools between coats for the best application
Common Mistakes to Avoid
Even experienced DIYers can fall prey to these common pitfalls:
- Skipping proper preparation
- Using paint that’s too thick
- Applying excessive pressure with the roller
- Neglecting to paint the grooves thoroughly
- Rushing between coats
- Using low-quality tools
Final Touches and Maintenance
After the final coat has dried completely:
- Inspect the surface in various lighting conditions
- Touch up any missed spots
- Remove painter’s tape carefully
- Allow full cure time before cleaning
For ongoing maintenance, dust regularly and clean with appropriate products for your paint finish. This will help maintain the beauty of your painted shiplap for years to come.
Remember, while painting shiplap requires attention to detail and patience, the transformative results are well worth the effort. With proper preparation, technique, and tools, you can achieve a professional-looking finish that enhances your home’s character.

